When you're looking around your living space, you might notice those little imperfections, like tiny nicks or small openings in the vertical surfaces. These minor blemishes can really catch the eye, can't they? For many folks, the thought of heading to a big box store just for a small amount of repair paste feels like a bit of a bother, especially if it's just for a tiny spot. It's almost as if you need a quick, simple way to make those walls look nice again without a lot of fuss or expense, you know?
Perhaps you've heard whispers about a rather humble kitchen staple that can come to the rescue for these sorts of small wall fixes. It turns out, this common ingredient, often found right in your pantry, can be the key to whipping up a simple repair material at home. Just like some folks share tips for homemade treats or even create their own signs, the idea of using everyday items for practical solutions often spreads through word of mouth, or maybe even, as a matter of fact, like a little secret shared among friends.
This article will walk you through the simple steps of creating your own repair paste using this everyday item. We'll explore what you need, how to mix it up, and how to apply it for those minor surface repairs. You'll also discover some of the advantages of choosing this do-it-yourself approach and learn about a few things to keep in mind as you work.
Table of Contents
- Why Think About Homemade Spackle Baking Soda?
- What Goes Into Homemade Spackle Baking Soda?
- How Do You Put Together Your Homemade Spackle?
- Are There Good Reasons to Use Homemade Spackle?
- What Might Go Wrong with Homemade Spackle?
Why Think About Homemade Spackle Baking Soda?
Have you ever found yourself with a small ding in a wall, perhaps from moving furniture or a picture frame that slipped, and thought, "Do I really need to buy a whole tub of wall filler for this one little spot?" It's a common thought, you know. Store-bought wall repair compounds are certainly effective, but they can be a bit much for minor repairs. Often, you use just a tiny bit, and the rest sits around, maybe drying out or just taking up space in your storage area. This is where the idea of a simple, homemade solution starts to look quite appealing, you know, for those little jobs.
The appeal of making something yourself, whether it's a sweet food like homemade candy or a repair material, often comes from a desire for simplicity and efficiency. Why use something complex when a straightforward answer is available? This do-it-yourself approach to wall repairs is, in a way, about being resourceful and using what you likely already possess. It’s a bit like when you find a clever way to share information with a small group of people, rather than making a big announcement. It’s about finding the most direct path to a good result, without any extra fuss, and that, too, is a very satisfying feeling.
What Goes Into Homemade Spackle Baking Soda?
So, what exactly do you need to gather to create this simple wall repair concoction? It's really quite basic, which is part of its charm. You don't need any special equipment or hard-to-find components. In fact, you probably have the main items sitting in your kitchen right now. This approach is about as straightforward as it gets, which is really quite nice when you just want to get a small job done without a trip to the store.
Simple Items for Your Simple Homemade Spackle
The primary ingredient, as the name suggests, is baking soda. This white powder, typically used for baking and cleaning, has some interesting properties that make it suitable for this purpose. It's a fine powder that mixes well with liquids to form a paste, and it dries to a fairly solid consistency. You'll also need a bit of white glue, the kind you might use for crafts or school projects. This glue acts as a binder, helping the baking soda stick together and adhere to the wall surface. Water is the third component, used to adjust the consistency of your mixture. That's basically it for the core materials, honestly. You might also want a small mixing bowl or container, a stirring stick or old spoon, and a putty knife or even a credit card for application. These tools are pretty common, so you likely have them around too, which is very convenient.
Thinking about the simple nature of these items, it’s a bit like how some powerful ideas are conveyed through very simple means, perhaps on a homemade billboard in a rural area, or a bumper sticker, as I've seen. The message doesn't need to be flashy or complex to be effective. Similarly, this homemade spackle baking soda solution relies on the basic, yet effective, qualities of its components to do the job. It's about getting back to basics, in a way, and realizing that sometimes the simplest answers are the best ones.
How Do You Put Together Your Homemade Spackle?
Putting together your own wall repair paste is a pretty straightforward process, much like following a simple recipe for a dish. There aren't many tricky steps, and it's quite forgiving if you need to adjust things a little. The goal is to create a smooth, spreadable mixture that will fill those small openings without crumbling or being too runny. So, let's get into the actual making and applying of this useful homemade spackle.
Making and Using Your Homemade Spackle Paste
First, grab your mixing container. Start by adding a few spoonfuls of baking soda. There's no exact measurement here, as it depends on the size of the repair you're tackling. For a small nail hole, just a tablespoon or two might be plenty. Next, add a small amount of white glue to the baking soda. Begin with a ratio of about two parts baking soda to one part glue, but remember this is just a starting point. Mix these two ingredients together thoroughly. You'll notice it starts to form a thick, somewhat crumbly paste. This is where the water comes in. Add water, a tiny bit at a time, maybe just a few drops, and keep stirring. Your aim is to reach a consistency that resembles thick toothpaste or peanut butter. It should be firm enough to hold its shape but soft enough to spread smoothly. If it gets too thin, just add a little more baking soda. If it's too thick, a few more drops of water will do the trick. You want it to be pretty consistent throughout, without any dry lumps.
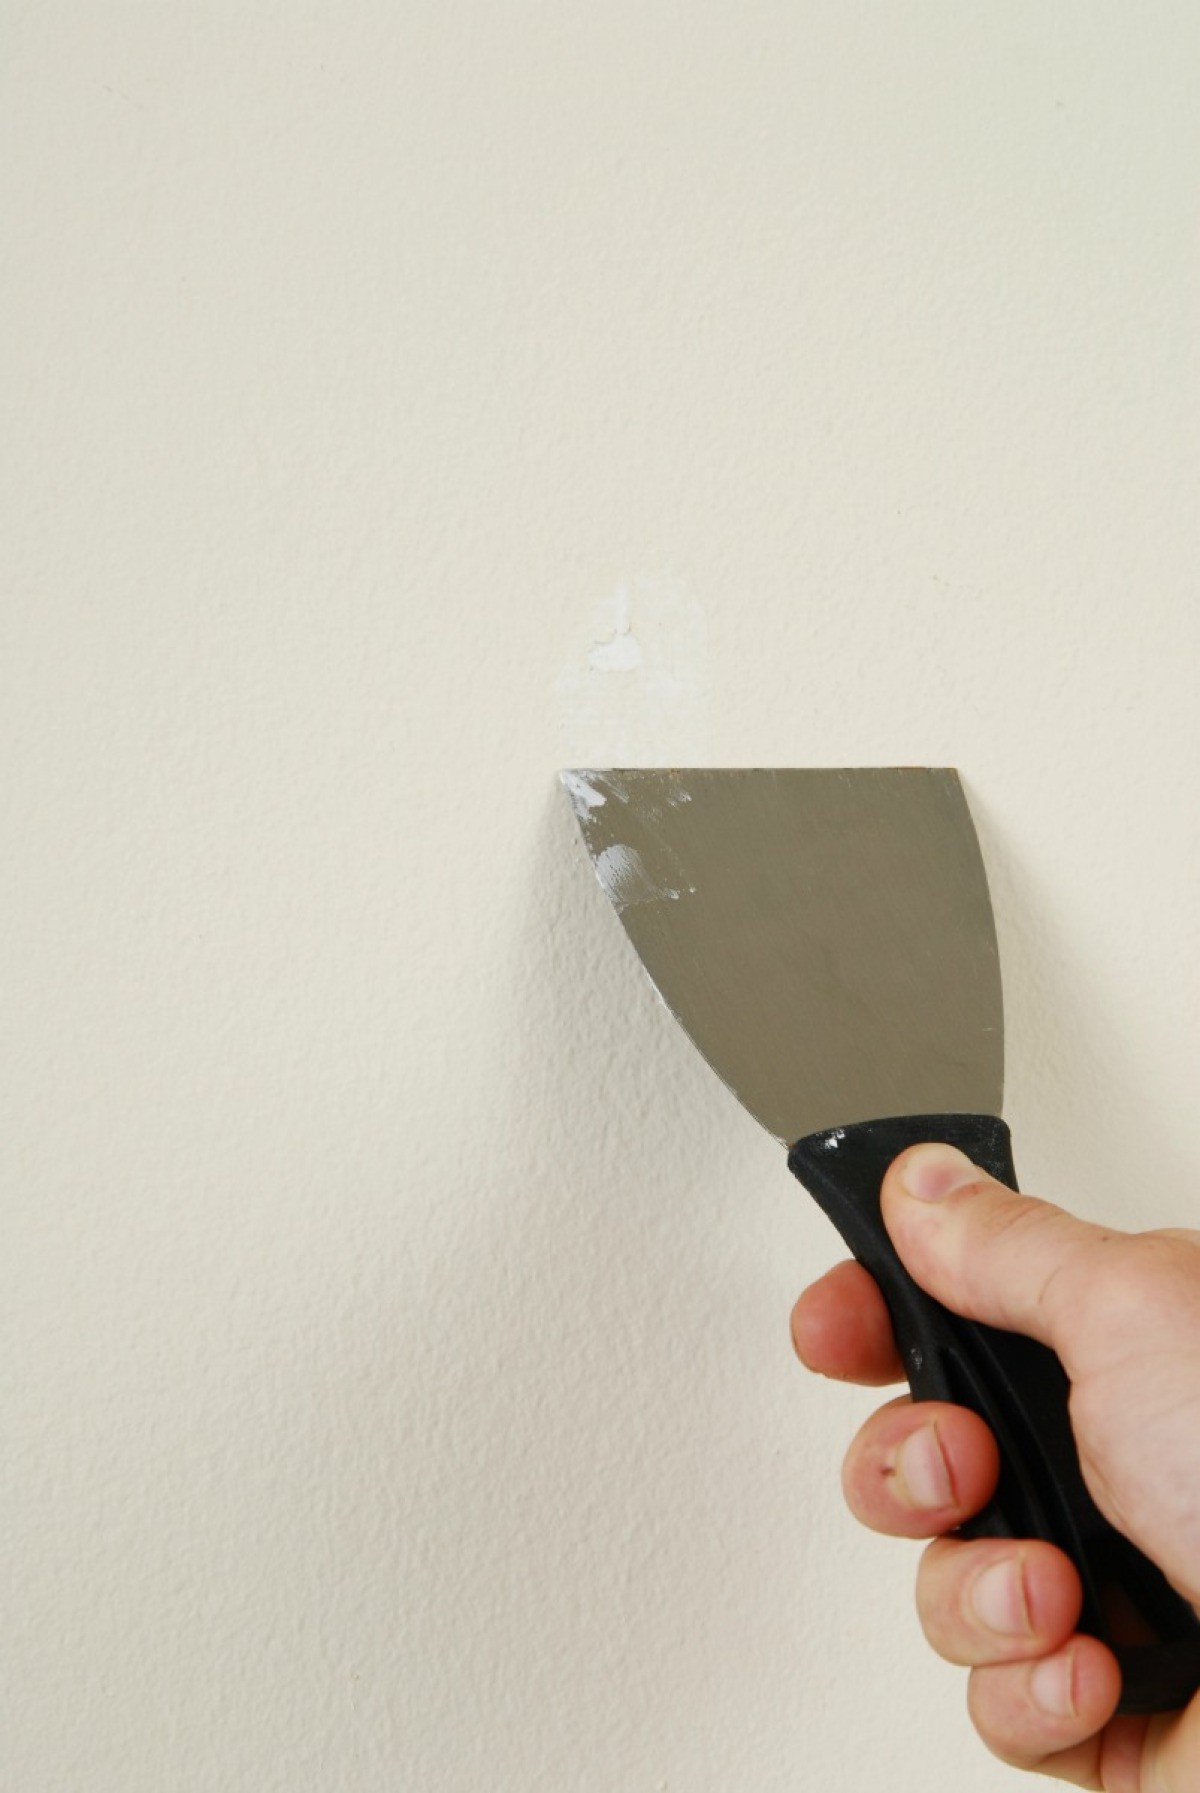
Once your homemade spackle baking soda paste is ready, it's time for application. Make sure the area you're working on is clean and free of loose debris. Using your putty knife or chosen applicator, scoop up a small amount of the paste. Press it firmly into the hole or crack, making sure to fill the entire void. Then, use the edge of your tool to scrape away any excess, leaving the surface as smooth and level with the wall as possible. You might need to do a couple of passes to get it just right. The idea is to make it blend in seamlessly, so that once it's dry and painted, you won't even know it was there. This process is surprisingly simple, and it's almost like magic how a few common items can create such a useful repair material.
Allow the repair to dry completely. Drying time will vary depending on the thickness of the application and the humidity in your space, but it usually takes a few hours. Once dry, the area should feel hard to the touch. If there are any slight imperfections or rough spots, you can gently sand the area with fine-grit sandpaper until it's perfectly smooth. After that, your wall is ready for a fresh coat of paint, and you'll have successfully made that small opening disappear. It's a rather satisfying feeling to complete a repair yourself, especially with something you've made from simple items.
Are There Good Reasons to Use Homemade Spackle?
When considering whether to go the do-it-yourself route for wall repairs, it's natural to wonder about the advantages. Is there a real benefit to mixing up your own paste versus simply picking up a tube from the store? As a matter of fact, there are several compelling reasons why a homemade spackle solution, especially one made with baking soda, can be a smart choice for certain situations. It’s not just about being frugal; there are other practical upsides too.
The Upsides of Homemade Spackle Baking Soda
One of the most obvious benefits is cost. Baking soda and white glue are typically very inexpensive, especially compared to specialized wall repair products. For those small, single-spot repairs, you're essentially using pennies worth of material, which is very appealing. This means you avoid buying a large container of something you might only use once, saving both money and storage space. It’s a bit like how some information, while not flashy, is incredibly useful and accessible, much like a simple Facebook post can connect you with friends without needing complex tools.
Another great advantage is convenience. Imagine you notice a small hole just before guests arrive, and you don't have any wall filler on hand. Instead of making an extra trip to a hardware store, you can likely whip up a batch of homemade spackle baking soda right away, using items you already have. This immediate availability can be a real time-saver and stress-reducer. It’s about having a solution ready when you need it, rather than having to go out and acquire something specific. This kind of readiness is pretty helpful, wouldn't you agree?
Furthermore, this homemade solution is generally quite low in fumes and strong odors, unlike some commercial products that can have a rather potent smell. This makes it a more pleasant option to work with indoors, especially if you're sensitive to strong chemical scents or working in a poorly ventilated area. It’s a gentler option for your home environment, which many people appreciate. In a way, it offers a more natural approach to small home improvements, which is quite appealing.
Finally, there's a certain satisfaction that comes from doing things yourself, especially when you use simple, common items to achieve a good result. It’s similar to the feeling of pride you get from making something like homemade candy or even putting up your own sign. You've taken a few basic components and transformed them into something functional and useful. This sense of accomplishment, coupled with the practical benefits, makes homemade spackle baking soda a genuinely worthwhile option for minor wall blemishes. It really is quite rewarding.
What Might Go Wrong with Homemade Spackle?
While making your own wall repair paste from baking soda is generally a straightforward and effective method for small jobs, it's also good to be aware that, like any do-it-yourself project, there are a few things that might not go perfectly. Knowing what to look out for can help you avoid common frustrations and ensure your repair turns out just as you hope. It's important to set realistic expectations for this type of homemade solution, as it does have its limits.
Working Through Homemade Spackle Challenges
One common issue people sometimes encounter is getting the consistency of the mixture just right. If your paste is too thin, it might drip or not hold its shape when applied to the wall, making it difficult to fill the opening properly. On the other hand, if it's too thick, it can be hard to spread smoothly, leaving lumps or an uneven surface. The key here, as I was saying, is to add water very gradually and mix well after each addition until you reach that ideal toothpaste-like texture. A little patience in this mixing phase goes a long way.
Another point to remember is that this homemade spackle baking soda mix is primarily for small, shallow holes or cracks. It's not really designed for larger gaps, deep gouges, or structural repairs. For bigger damage, you'll likely need a more robust, commercial product specifically formulated for those types of jobs. Trying to use this simple mix for something too substantial might lead to it cracking, shrinking excessively, or simply not providing the necessary strength for the repair. It's basically a solution for minor cosmetic fixes, not major construction work.
Drying time can also be a factor. While it generally dries within a few hours, if you apply it too thickly, or if the humidity in your room is very high, it could take longer to cure completely. Rushing the drying process or painting over a still-damp repair can lead to problems like bubbling paint or the paste not fully hardening. It’s better to err on the side of caution and give it plenty of time to dry, perhaps even overnight for thicker applications. This patience will definitely pay off in the end.
Finally, while this homemade paste can be sanded smooth, it might not always achieve the perfectly seamless finish of some professional-grade products, especially if you're not used to working with such materials. There might be a slight difference in texture, which usually becomes unnoticeable once painted. However, for those seeking absolute perfection on a very visible surface, a commercial product might offer a finer, more uniform result. Still, for most everyday repairs, this simple, homemade solution does a perfectly adequate job, and that's often good enough, you know. It’s about finding the right tool for the right job, and sometimes, the humble homemade option is exactly what you need.
So, we've talked about how those little wall blemishes can be a bit of a bother and how a simple, homemade solution using baking soda can come to your rescue. We explored the basic items you'll need, like baking soda, white glue, and a little water, which are probably already in your home. Then, we walked through the easy steps of mixing up your own repair paste and applying it to those small openings. We also discussed the appealing reasons to choose this do-it-yourself approach, like saving money, having materials on hand, and enjoying a low-odor experience. Lastly, we covered a few things to keep in mind, such as getting the right consistency and understanding that this solution is best for minor repairs. This method offers a straightforward and satisfying way to tackle those small wall imperfections yourself.
:upscale()/2014/01/17/841/n/1922441/fee033aa216e4cec_paste.jpg)
